New to cosplay masquerades and finding yourself lost on how to prepare a portfolio, aka build book for pre-judging? After viewing hundreds, I'm sharing what goes into a persuasive build book for cosplay contests from the perspective of a long-time contest judge.
Over the last few decades of cosplaying, I've had the privilege to judge many cosplay contests in various locations. From this experience, I've come to appreciate how much a well-presented portfolio can help contestants gain an edge over the competition.
But suppose you are new to competitions or don't have experienced friends to help you figure out how to structure one of these documents. In that case, there's not always a place to turn to help you figure it out!
To help, I took some time to compile advice I've given to others on what makes an impressive cosplay contest portfolio! What follows is my personal recommendations based on years of viewing the portfolios of cosplayers across a wide range of skill sets & levels.
Presentation
If you deliver this portfolio in person, use a plain binder; alternatively, consider having a local office supply shop print and bind the document. If this document is for an online competition, opt for a clean, no-frills PDF document or PowerPoint layout. Don't go bananas with colors, text & image fly-in animations.
You want your document to be categorized & organized. A mistake many contestants make is handing over a packet that is essentially a photo dump that they will then try to walk the judges through. You will want your document to be self-explanatory because judges only give each document a brief review when deliberating on all the contestants.
You should structure this document like a PowerPoint that a very distracted person could follow. This is not to say the judges will be distracted. Still, it helps to make it as simple as possible for them to find information quickly, so include big titles like "Construction Notes" or "Wig Work" at the top of each section.
What follows is a rundown of the sections I suggest your document include.
1. References
Stick to just a few references, enough for them to understand what you are trying to make. Concept art sheets are ideal.
Don't give them a whole art book. It's okay to include one or two 'flavor' references if you take liberties with the costume design, like creating an Art Nouveau version or something historically inspired. Label these references as 'Inspiration.'
This section should not take up more than one page of your document. Here's an example:

2. Materials
Having a list of materials used is a great way to give judges a quick overview of your fabrics & crafting supply choices.
If you bought parts of your costume, include a list of those items here as well. Some contests require you to disclose purchased items, but even if it's not necessary, it's good form to include this information.
Including your fabric swatches is a nice touch, but if you do this, ensure that you cut them into evenly sized blocks with pinked edges. Affix them with staples or strong contact cement to a sheet of cardstock.

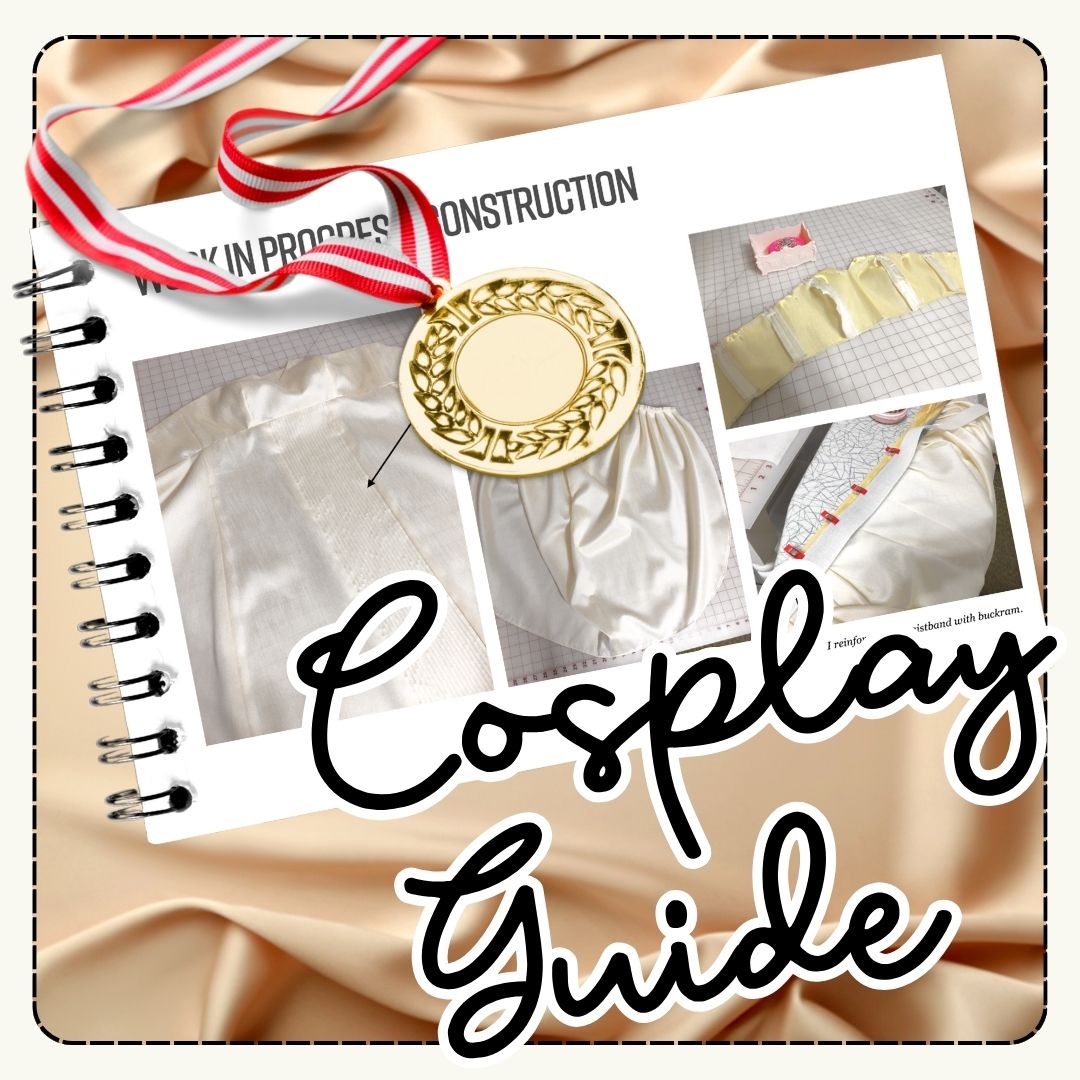
3. Work in Progress
This will be the majority of your document. This section should provide a broad overview of how you assembled the garments or armor. Focus mainly on the parts that require advanced skills, like mitered corners, quilting, or adding structure.
The first part of the WIP section should have an example of your patterning process. Explain if you used draping, flat patterning, pattern modification, or a combination of these to draft your costume. Include a picture of this step in your construction. This is especially important for Journeyman and Master's level judging, where patterning skills are increasingly important.
It's also just good form to cite resources you used, so if you bought a template for a prop or costume part from a seller on Etsy, make a note of whose work is helping you. Some contests require this. It is worth including by default.

After showing your patterning process, your WIP photos should include a few 'raw' pictures of the costume in the early stages of construction. This is primarily the 'proof' section of the document, which shows that you indeed made the costume yourself.
This section is not a how-to guide. You do not need to walk your judges through every step of making a costume. Assume your judges are qualified and also know how to sew a blind hem or in-set sleeves. Suppose you reinvent the wheel and create an unorthodox method of construction that most people would not follow without visual aids, such as photos. In that case, it's okay to walk through that process in your WIP.
When done well, the WIP section showcases skills, so think of this as a highlights reel of all the skilled techniques you completed while making the costume. A mistake a lot of people make is giving judges TOO MANY work-in-progress photos. It can drown out the good stuff if it's a big photo dump. Select only your best-looking and most visually instructive WIP photos.

Lastly, include a photo and description of how you finished the garment (i.e., bound seams, lining, overlocking) If you use an unorthodox method, have a sentence about why, such as 'I wanted to reduce bulk.'

4. Props / Wig Work / FX / Makeup / 3D Modeling
Create different sections for any wig work, makeup, FX, or props you make. Treat each skill set as a particular focus to showcase and create a mini WIP section for each.
Dividing these different skills into their own sections will illustrate your range of talents at a glance.

5. Detail Photos
Use this section to present photos of areas of the finished costume you are particularly proud of. This is a great place to show beading or rhinestones that might be missed from several feet away. It's also a reminder to judges when they deliberate about where you went above and beyond.
After sharing your detailed photos, include any notes about elements of the costume you would like judges to know about and remember. This is the stuff you'd point out in judging when asked if you had anything you'd like to highlight or talk about further.
Alternatively, you can include these tidbits as margin notes in the previous sections. Example: Draw an arrow pointing at something and include a margin note, saying, "I increased the scale on this to better fit my proportions here."

6. Photos of the Finished Costume
Ideally, you will want to take this photo on a mannequin similar to your own size or yourself, fully dressed in costume. Choose a neutral background, such as a blank wall or patternless curtains. You want to avoid other distractions in the photos. This will be the final showcase to remind the judges of what your costume looked like when finished.

General tips to keep in mind:
-
When you write statements in this document, phrasing is important. You want to be seen as knowledgeable. Use phrases like 'I wanted to try out ___ technique' or 'I felt it was worth developing ___ skills for this project' rather than 'I've never done this before.' Phrasing it this way lets the judges know you've learned new skills, but doesn't come across as too novice.
-
Forget being humble; it's time to brag! This is challenging for many, but remember- this document is all about why you deserve to win an award. You need to check your self-doubt at the door. If you struggle to do this, think about the project as though it was made by your very best friend. Word it as if you were bragging about the hard work and skill they put into it.
-
If you enter an in-person contest that requires you to submit your portfolio beforehand, come prepared. Bring a printout of it to the judging even if told it isn't necessary. Even if the judges are supposed to review that content before your interview, they might not do so due to time constraints. It's also possible that they've forgotten most of the crucial details you included. Even for the most experienced judge, it's impossible to remember everything, so having a physical reminder they can reference in deliberations is essential. I learned this lesson the hard way once, as a contestant, while the one person who did print theirs out ended up winning the contest.
-
Lastly, cosplay contests are a chance to challenge yourself and showcase your growth as a crafter. Go into each contest with the mindset that the only person you are competing against is your past self. You will always win something, even if it's just experience. You might not be this year's Best in Show, but a positive attitude can certainly help you get there eventually.
I've created a 100% FREE TEMPLATE on Canva that you can utilize as a basis for a buildbook. You will need a free Canva account. You can export the finished document when done or send it to a printing service. The template follows the basic layout I used in this post, with a couple of extra WIP pages for props and armor added. It is bare bones, and I highly recommend keeping it low-frills.
You can drop in images and replace the text with your own, or you can rearrange things as needed. If you change fonts, pick something easily readable (or Comic Sans if you're a sadist). The files are set up as templates, so any changes are private to your account.
Happy Sewing!

(We are consolidating our blogs! A previous version of this post was first posted to Maridah.Com on July 21st, 2021.)
Looking for patterns that can help you with your next competition? Check out the pattern listings below for some of our sewing pattern blocks, which are designed to be easily modified for cosplay.


